Unity
Unity is equally suited to creating both 2D and 3D games. When you create a new project in Unity, you have the choice to start in 2D or 3D mode. You may already know what you want to build, but there are a few subtle points that may affect which mode you choose.
The choice between starting in 2D or 3D mode determines some settings for the Unity Editor, such as whether images are imported as textures or sprites
. You can swap between 2D or 3D mode at any time regardless of the mode you set when you created your project (see 2D and 3D Mode Settings). Here are some guidelines which should help you choose.
|
3D games usually make use of three-dimensional geometry, with Materials and Textures rendered on the surface of GameObjects
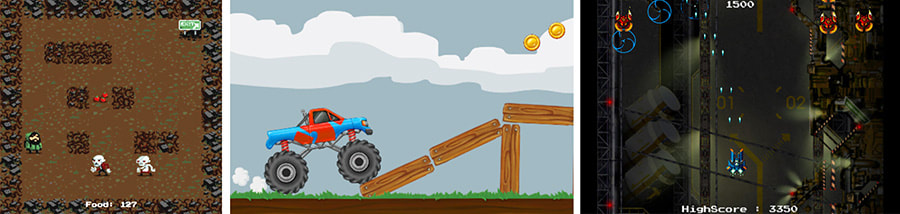
to make them appear as solid environments, characters and objects that make up your game world. The Camera can move in and around the Scene freely, with light and shadows cast around the world in a realistic way. 3D games usually render the Scene using perspective, so objects appear larger on screen as they get closer to the camera. For all games that fit this description, start in 3D mode. |

|
|
Many 2D games use flat graphics, sometimes called sprites, which have no three-dimensional geometry at all. They are drawn to the screen as flat images, and the game’s camera has no perspective. For this type of game, you should start the editor in 2D mode.
|
The Application Interface:

- (A) The Toolbar provides access to the most essential working features. On the left it contains the basic tools for manipulating the Scene view
and the GameObjects
within it. In the centre are the play, pause and step controls. The buttons to the right give you access to Unity Collaborate, Unity Cloud Services and your Unity Account, followed by a layer visibility menu, and finally the Editor layout menu (which provides some alternate layouts for the Editor windows, and allows you to save your own custom layouts). - (B) The Hierarchy window is a hierarchical text representation of every GameObject in the Scene
. Each item in the Scene has an entry in the hierarchy, so the two windows are inherently linked. The hierarchy reveals the structure of how GameObjects attach to each another. - (C) The Game view simulates what your final rendered game will look like through your Scene Cameras
. When you click the Play button, the simulation begins. - (D) The Scene view allows you to visually navigate and edit your Scene. The Scene view can show a 3D or 2D perspective, depending on the type of Project you are working on.
- (E) The Inspector Window allows you to view and edit all the properties of the currently selected GameObject. Because different types of GameObjects have different sets of properties, the layout and contents of the Inspector
window change each time you select a different GameObject. - (F) The Project window displays your library of Assets that are available to use in your Project. When you import Assets into your Project, they appear here.
- (G) The status bar provides notifications about various Unity processes, and quick access to related tools and settings.
